About a year and a half ago, I bought a 1993 Suzuki JR50 for the kids. It was well worn, and had been suffering from obvious neglect for some time. However, the bike was complete and the engine would start, but it ran like shit. I brought it home for $250 and figured I could make it look nice and get it running properly for maybe another $250 in parts and repairs.
I bought new tires & tubes, replaced some broken and missing spokes in the rear wheel, removed and capped off the oil injector (never trust those things -- better to mix the gas for 2-stroke engines), repaired the kill switch, new chain, replaced a bunch of missing and/or stripped bolts, and some other small stuff. Then I painted all of the plastics, and the engine. I cleaned out the carb and made a few little adjustments, but I couldn't manage to get the thing to run properly. It always seemed like it was starving for gas. I looked into buying a few bits for the carb... then I found brand new carbs available on eBay for $50. That was a no-brainer. I had it shipped to Ogdensburg and drove there today to pick up the new carb (along with some other stuff I ordered online). All, told I spent less than $200 to restore this little bike, including the brand new carb.
I took the carb out of the box: 100% identical to the OEM carb that was on the bike. I simply removed the old carb (about 2 minutes of work) and bolted the new one on (about 3 minutes of work by the time I hooked up the throttle cable). I turned on the fuel petcock and kicked it over 3 times before it fired up. The bike runs like a dream, and I didn't even have to adjust so much as the idle screw.
Gonna take my 8-year-old daughter to a gravel pit tomorrow for her first riding lesson. Two weeks ago I bought her a helment, and elbow and knee pads.

The day I brought it home

Stripping it down


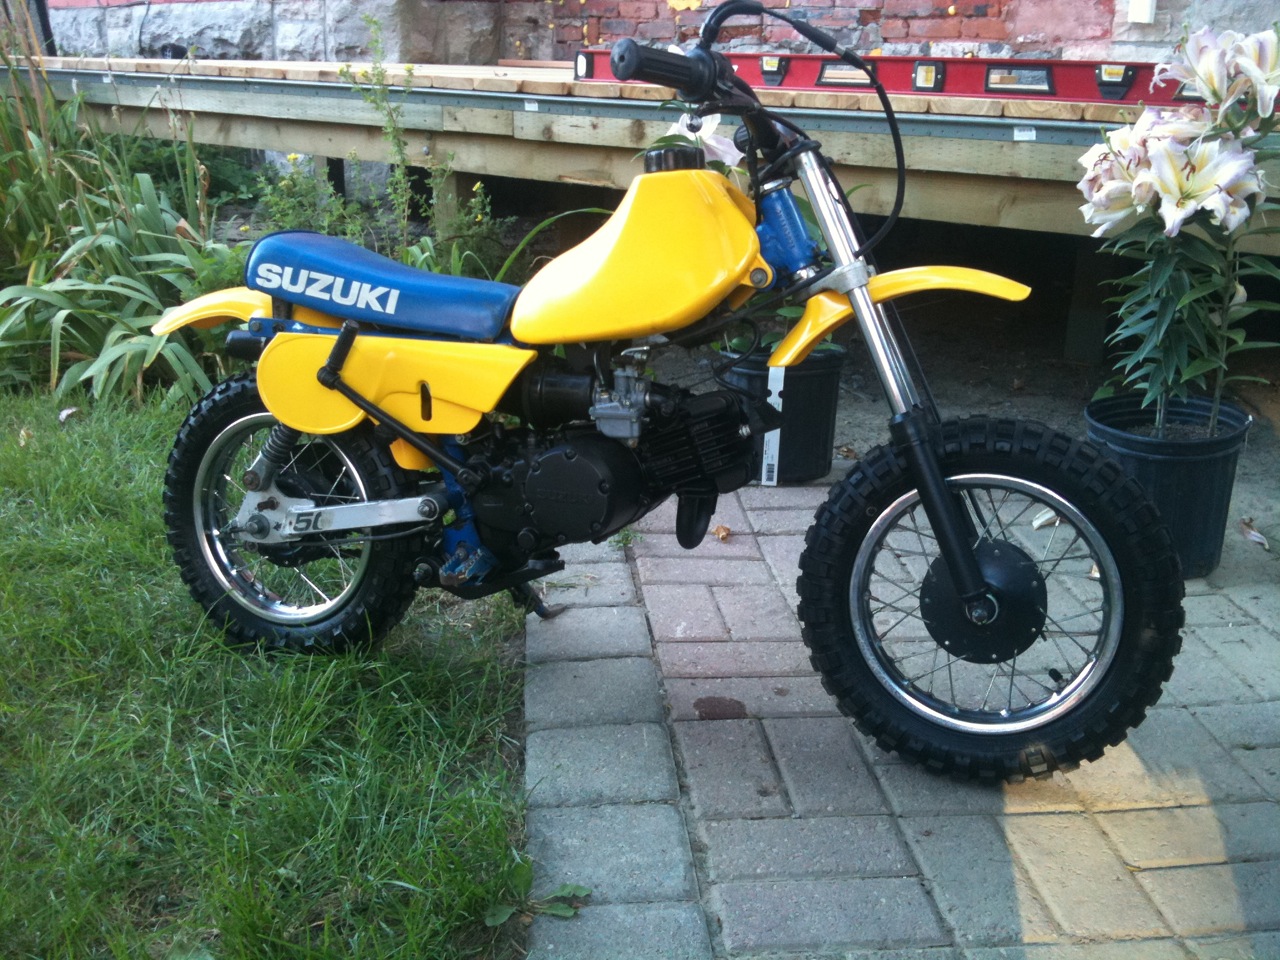
The finished product.